The Step-by-Step Guide to the Most Satisfying Cake Decorating Techniques
Posted on 15 Mar 2022
Key Points
- Cake decorating is a creative and satisfying way to personalise homemade cakes for any occasion, from simple to advanced designs.
- Key techniques include proper prepping (like freezing and crumb coating), piping borders, and working with mini cakes or sculpted 3D designs.
- Fun styles like pastel rainbow frosting and themed embellishments offer vibrant, Instagram-worthy results for beginners and pros alike.
We all love cake, right? But there's something even better than eating cake - and that's decorating it! Cake decorating is so satisfying, whether you're creating a masterpiece for a special occasion or simply whipping up a quick and easy design for your afternoon tea. And the best part is, anyone can do it!
Store-bought cakes can be delicious, but there's nothing quite like a homemade one. If you're looking to up your cake decorating game, we've got just the thing. These step-by-step instructions for creating satisfyingly symmetrical designs will have you whipping up beautiful cakes in no time.
Preparing the Cake for Decoration
One of the most important parts in cake decorating is making sure that your finishes are smooth and even. The decorations look their best when they're against an evenly iced layer, so don't forget the following steps:
1. Plan your decorating timeline.
Give yourself plenty of time to decorate your cake before an event. It's important that you leave enough time in case there are errors or unforeseen circumstances. Rushing to decorate the cake may lead to problems and may ruin your masterpiece altogether.
2. Practice makes it perfect.
You can make a practice icing with 1 cup of shortening and about 3 to 4 cups of powdered sugar. This consistency will not spoil since it doesn't contain any perishable ingredients, but its flavour is quite nasty so use this only for practicing purposes!
If you decide on using actual icing instead, then keep them separate from what's being used during production so you won’t run out of supply for the actual cake, or affect its flavour because you used practice icing.
3. Freeze the cake after cooling before you start decorating it.
Most cakes, when freshly baked and without freezing beforehand do not keep their shape. They turn into large piles of crumbs from slices that don't break in half but instead fall apart upon cutting - which can be quite an unpleasant experience for those who enjoy eating cake on special occasions like birthdays or holidays.
Freezing helps prevent such disasters by stopping the moisture escape during preparation so you're guaranteed a better end result with every slice while preserving the flavour.
The Most Satisfying Cake Decorating Techniques
Sweet Miniature Cake Decorating
Miniature cakes are smaller than their regular-sized counterparts, but guess what? You can use the same basic techniques when decorating them. You only have to scale the amount of frosting to use so that the cake won’t be overloaded and lose its shape.
Mini cakes may also come in layers, and when baked, they have an uneven top surface. So, you definitely have to trim the edges off before going ahead with your decorations.
Decorating miniature cakes can be done via the following steps:
- Prepare the turntable – if you are using a metal turntable, grease it with oil or WD-40 to loosen the rotating wheel inside the base for it to turn smoothly. Meanwhile, if you are using a plastic turntable, don’t forget to unlock it so it will rotate during decoration.
- Place a damp washcloth – when placed on top of the turntable, the washcloth will prevent the board from tilting as you spin the turntable around.
- Place the right cake board size that matches your cake on top.
- Place the prepared cake on the cake board. Secure it by adding a dot of icing on the board before placing the cake.
- Add the filling – on top of the first layer. Add more if you want a thick layer of filling.
- Add the second layer – and add another layer of filling. Repeat the process until you finish off with the topmost layer of cake.
- Apply the crumb coating – a thin layer of frosting before the actual finishing frosting.
- Apply the top layer of icing - using a small spoon or spatula applied with warm hands (the consistency should feel glue-like), slowly drag it across the surface to create an even layer that is just thick enough so as not allow any gaps between fibres when cut into later on.
- Smooth the edges - using a spatula or metal bench scraper.
- Pipe the borders – fill a pastry bag with your desired icing, use the tip you want, then pipe around the borders of the cake.
- Add the garnishes – such as candy sprinkles, chocolate shavings, etc.
3D Sculpted Cakes
3D sculpted cakes are reserved for expert cake decorators. They can be very tricky and require a combination of not just artistic talent but also steady hands and mathematical accuracy. Why? Because you are following a design that has to be accurate in terms of size and dimension.
If you want to explore making 3D sculpted cakes, here are some basic tips to keep in mind:
- Prepare multiple layers – depending on what your design is, it is important to prepare multiple cake layers to ensure you have enough base to work on.
- Study the design you will be following – keep in mind the size and dimensions, and which part goes where. If you can practice with sculpting foam to get the feel of it first, then do so.
- Start sculpting the base – depending on the kind of cake design you are following. Make sure the cake base was frozen prior to sculpting so it won’t fall off into crumbs.
- Apply the crumb coating to frost the sculpted cake – so you can apply the appropriate frosting.
- Dress up the sculpted cake – using buttercream frosting or gum paste, depending on your design requirement.
Embellishments, such as sugar flowers or cake toppers, may have to be prepared before actually sculpting the cake, so you have to set aside some time to work on them first. They can be attached to the cake via frosting or poking the cake with sticks so they won’t fall off.
Pro tip: make sure to sculpt the cake in a cool indoor environment as warmer temperatures may cause the cake to melt.
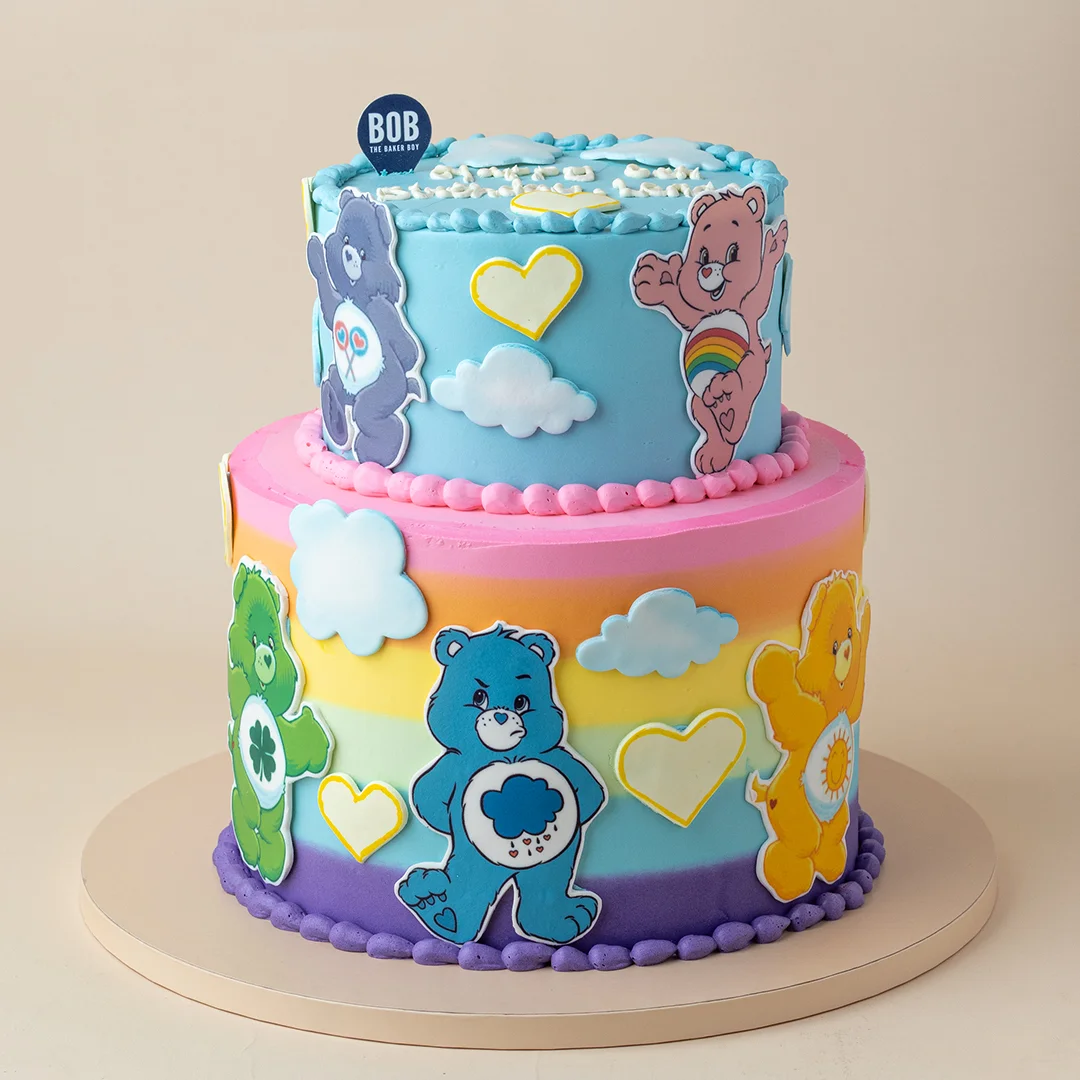
Pastel Rainbow Cake Decorating
Pastel rainbow cake decorating is fun and surprisingly easy, especially when you have already gotten the hang of crumb coating and the basics of cake frosting.
To start:
- Prepare your layers – if you wish to complete the rainbow colours, then prepare an 8-layer cake (including the top-most layer). You may still go for the usual 2 or 3-layer cake, though.
- Layer with your coloured frosting – you may use frosting of 7 colours for each layer, or just go with 2 or 3 different coloured fillings instead.
- Apply the crumb coating – using white buttercream frosting
- Finish with coloured frosting – apply a dollop of reach coloured frosting on one side of the cake in a vertical line. Flatten these dollops using a spatula then start turning the cake (keep the spatula steady) to evenly cover the sides of the cake.
- Flatten the top with frosting – cover the top part of the cake with a frosting colour of your choice.
- Trim the edges – using another spatula, trim off the excess frosting.
- Place the garnish and topper – you may use edible toppers made of gum paste or candy, or use a plastic topper instead. You may decorate both the top layer and the sides with garnish as well.
Looking for other cake inspirations? Here are some of the custom theme cake designs to check out!